Setting up docs with Tailwind CSS & GitHub Pages.
To me, Tailwind CSS is one of the the most enjoyable tools to build documentation websites. It's quick, it's easy, and it gets the job done well. The library has taken the world by storm, and that doesn't surprise me one bit. When paired with a static site generator like Jekyll you've got all the tools to build a custom documentation website for your open source project. I've used these tools to create the documentation websites for Flysystem and EventSauce.
A good documentation website helps you grow your user base. It's a great marketing tool for you as an individual developer or your company. The ones I like the best are the ones that seem handcrafted. For example, the docs for Laravel and Tailwind CSS are really nice. The docs for Symfony have improved a lot over the years as well.
In this post, I'll share how I set up the documentation websites for EventSauce and Flysystem, and hope it'll inspire you to do something similar for your project.
Goals
When setting up documentation websites I tend to do many things the same way for every project.
- I use GitHub Pages for hosting (free).
- I use Jekyll because it simplifies the writing process.
- I ensure CSS and JS files have proper cache-busting.
- I try to deliver the smallest amount of CSS.
- I use Tailwind CSS because it's awesome.
Using GitHub Pages is great because you're able to have documentation and implementation side by side. When creating pull requests, you can add the documentation for new features. In my experience, it keeps the docs from being neglected. If anything, it was always a constant reminder for me to keep them up to date.
Setting up a GitHub docs website
To quickly setup an example repository and add a README.md, use the following commands. Be sure to replace the git URL with your own repository URL.
echo "# tailwind-docs-example" >> README.md
git init
git add README.md
mkdir docs
touch docs/.gitignore
git add docs/.gitignore
git commit -m "first commit"
git remote add origin git@github.com:frankdejonge/tailwind-docs-example.git
git push -u origin master
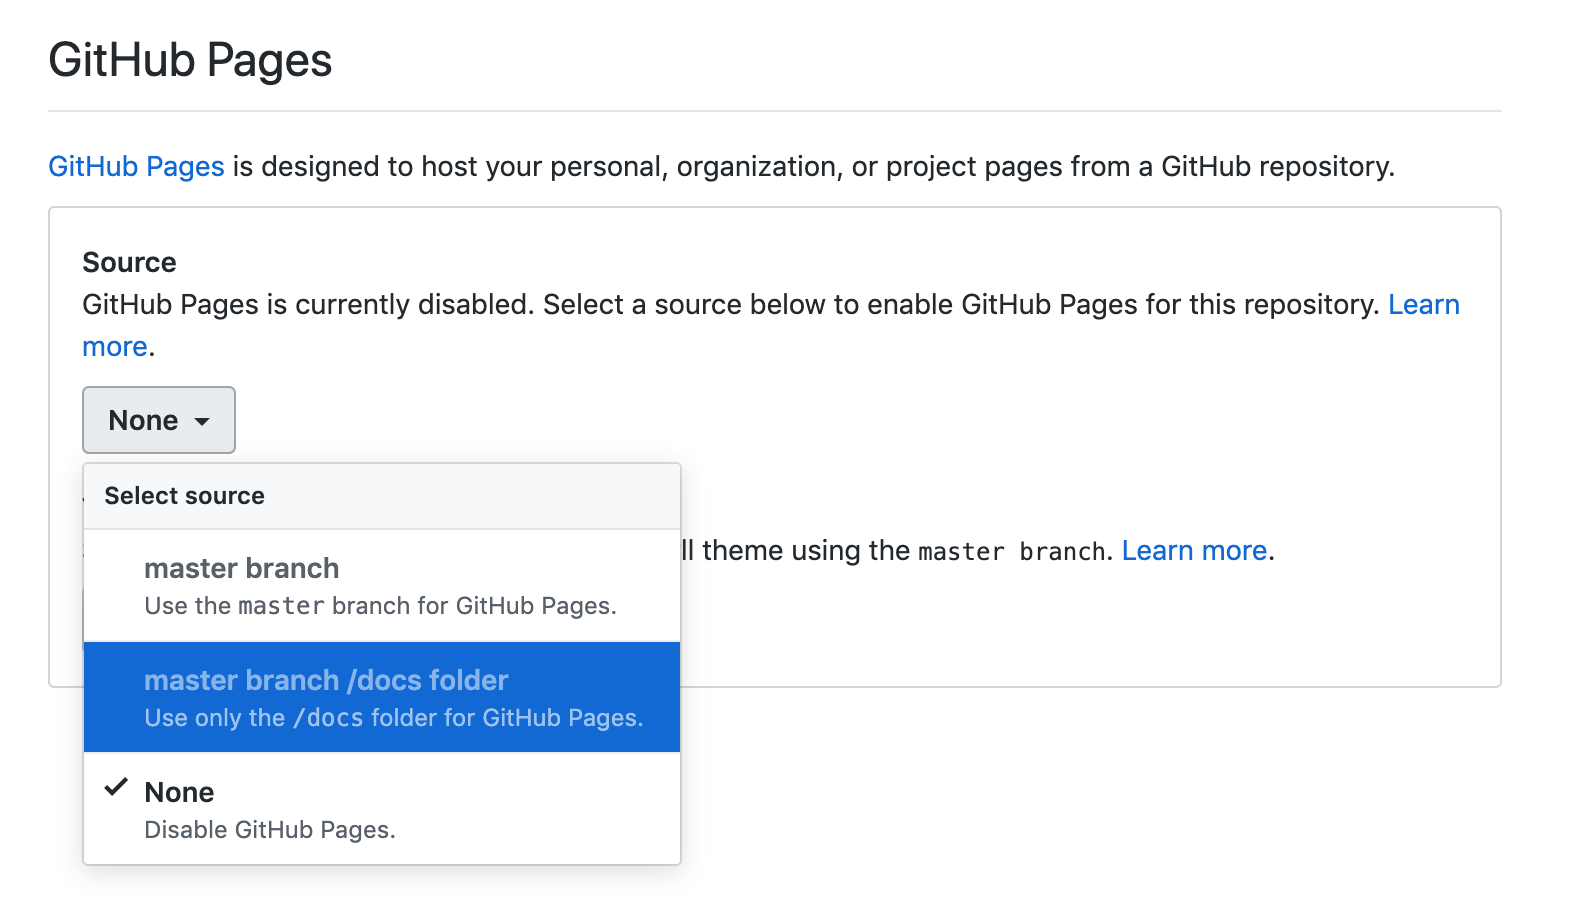
You need an initial branch to set up GitHub Pages. You can find the options to enable the publication of your website in your repository settings page. Note the creation of the docs directory with a placeholder file named .gitignore. Adding this file makes sure the /docs/ directory exists in our repository and allows us to select it as the source of our documentation.
Enable the docs by choosing the following option in your settings page:
The next part will all take place in the docs folder. So let's go into that directory:
cd docs
Setup Jekyll
Whenever I work on documentation sites, I like to preview them locally, so that I have a quick feedback loop for whatever changes I'm making. That requires running Jekyll locally, and the docs for Jekyll show you how to install it on your machine.
Once Jekyll is installed, you can configure it by creating a file named _config.yml in the root of the Jekyll project:
defaults:
  - scope:
      path: ""
    values:
      layout: "default"

exclude:
  - "*.config.js"
  - "package*.json"
  - "assets"
  - "node_modules"
This configuration file will make sure any unwanted files and directories are not published. This includes the node_modules direction, some configuration files, both package.json files (normal + lock). It also contains the assets directory, which is where the generated CSS files will be placed later. It also specifies the default name for our layout. For the default layout (_layouts/default.html), use:
<!doctype html>
<html lang="en">
<head>
    <title>Document</title>
</head>
<body>
{{ content }}
</body>
</html>
Next, add an index.md file containing:
---
permalink: /
title: Welcome to my docs
---
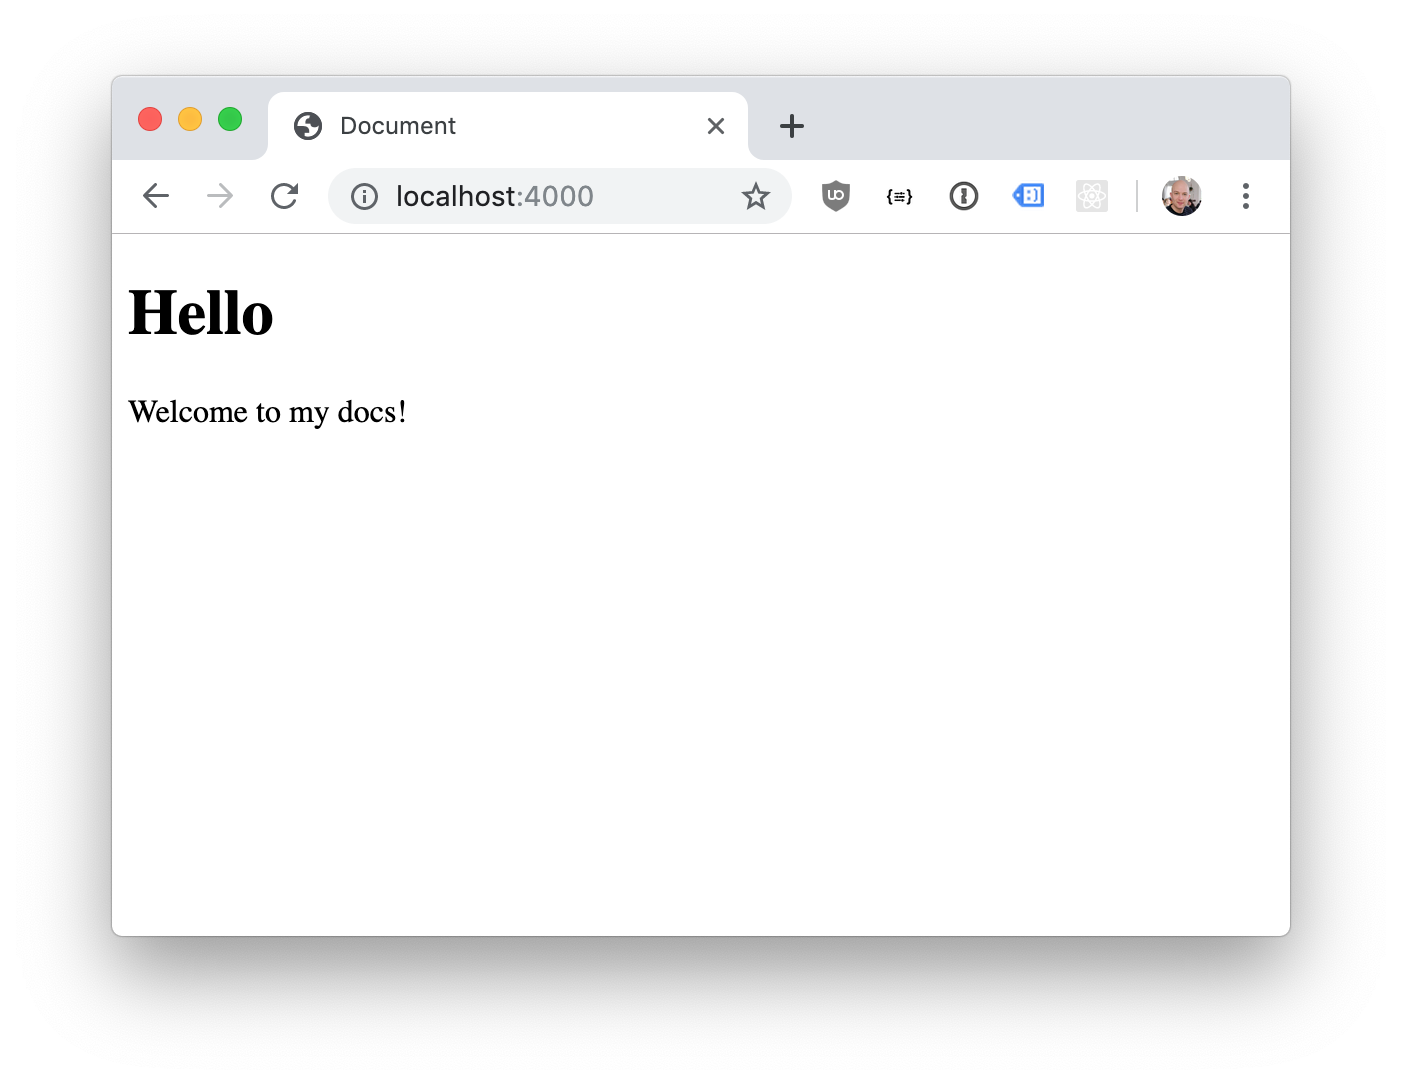
# Hello
Welcome to my docs!
In order to preview our website, run jekyll serve and visit localhost:4000. It should look something like this:
Install NPM dependencies
Great!Now that you have this done webpack configuration. Let's start by downloading half the internet a.k.a. "installing some NPM dependencies".
First, setup a private package.json:
echo '{"private": true}' >> package.json
Next, you can install all the required dependencies. This includes tailwind, postcss, some loaders, and some other tools to generate optimised CSS files.
npm install --save-dev\
    autoprefixer \
    clean-webpack-plugin \
    css-loader \
    mini-css-extract-plugin \
    postcss \
    postcss-loader \
    postcss-nested \
    cssnano \
    @fullhuman/postcss-purgecss \
    style-loader \
    tailwindcss \
    webpack \
    webpack-cli \
    webpack-manifest-plugin
Now you can start to configure webpack. I tend to focus only on webpack specific things here. Other configuration (e.g. for PostCSS and Tailwind) can be placed in separate configuration files, which prevents the webpack configuration file from becoming bloated.
const path = require('path');
const MiniCssExtractPlugin = require('mini-css-extract-plugin');
const ManifestPlugin = require('webpack-manifest-plugin');
const isProduction = process.env.NODE_ENV === 'production';
const { CleanWebpackPlugin } = require('clean-webpack-plugin');

module.exports = {
    mode: isProduction ? 'production' : 'development',
    entry: {
        docs: path.resolve(__dirname, './assets/index.css'),
    },
    output: {
        path: path.resolve(__dirname, './dist/'),
        filename: isProduction ? '[name].[hash].js' : '[name].js',
        chunkFilename: isProduction ? '[id].[hash].js' : '[id].js',
    },
    module: {
        rules: [
            {
                test: /\.css$/,
                use: [
                    {
                        loader: MiniCssExtractPlugin.loader,
                        options: {
                            hmr: process.env.NODE_ENV === 'development',
                        },
                    },
                    'css-loader',
                    'postcss-loader',
                ]
            }
        ]
    },
    plugins: [
        new CleanWebpackPlugin(),
        new MiniCssExtractPlugin({
            filename: isProduction ? '[name].[hash].css' : '[name].css'
        }),
        new ManifestPlugin({
            fileName: '../_data/manifest.yml',
            publicPath: './dist/',
        }),
    ],
};
This configuration ensures that CSS is extracted from the output and stored in its own file using the mini-css-extract-plugin package. The webpack-manifest-plugin will generate a JSON file, which contains a lookup table for our assets. The old build artefacts are removed by the clean-webpack-plugin plugin, keeping our /dist/ folder nice and clean. The entrypoint points to assets/index.css, which will contain the imports of tailwind's utilities and base styles.
Setup PostCSS
To build your styles, you'll need to setup the Tailwind CSS plugin for PostCSS. You do this by creating a postcss.config.js file:
const purgecss = require('@fullhuman/postcss-purgecss')({
    content: [
        // Jekyll output directory
        './_site/**/*.html',
    ],
    defaultExtractor: content => content.match(/[\w-/:]+(?<!:)/g) || [],
});

module.exports = {
    plugins: [
        require('tailwindcss'),
        require('cssnano')(),
        require('autoprefixer'),
        ...process.env.NODE_ENV === 'production'
            ? [purgecss]
            : []
    ]
};
This configuration file allows you to use Tailwind's utilities and tooling. It will use cssnano and autoprefixer to create smaller and more usable CSS output. When the NODE_ENV is set to production, it will also use the HTML output from Jekyll to purge any unused CSS. This process drastically reduces the file size of the generated CSS file.
Building the assets
When building our assets in the production mode, the generated files with have a hash in their filename. This ensures that whomever is viewing the docs will always have the correct version of the styles.
In a PHP application we could simply parse the JSON, look up the filename, and output it in our template language of choice during rendering. Since Jekyll is a static site generator, you'll need to do something similar. The main difference is it that the data should be available during the rendering process. Jekyll uses YAML files to provide data to our templates. YAML is a superset of JSON, this means any JSON is valid YAML. This enables us to use a manifest JSON in Jekyll.
Webpack is configured to store the JSON manifest at _data/manifest.yml. When Jekyll loads this file, it exposes the data under the site.data.manifest variable.
The manifest itself will contain a JSON object similar to:
{
  "docs.css": "./dist/docs.728127d2e6eaf244122f.css",
  "docs.js": "./dist/docs.728127d2e6eaf244122f.js"
}
You can access these values using site.data.manifest['key']. This notation is required because the keys have a dot in them.
For your styles to display correctly, you'll need to load them into your layout. Try to change the look and feel by adding a few simple classes to create a blue border around our page. The template now looks like:
<!doctype html>
<html lang="en">
<head>
    <link rel="stylesheet" href="{{ site.data.manifest['docs.css'] }}">
    <title>Document</title>
</head>
<body class="border-blue-200 p-8 min-h-screen min-w-full border-8">
{{ content }}
</body>
</html>
In the manifest plugin configuration you can specify from where the assets are loaded from by setting the publicPath option. For this demonstration, I've used a relative path to the dist folder. . If you're not using a custom domain name for your project, you can use /[repository-name]/dist/ in order to get the absolute URI to your compiled assets. However, when using a custom domain you'll need to use /dist/ instead.
You can now run a build of your documentation using:
jekyll build
This will generate all the HTML files needed to purge any unwanted CSS.
Now you're ready to generate your CSS. For convenience you can add a few NPM scripts to your package.json:
{
  "private": true,
  "scripts": {
    "prod": "NODE_ENV=production npx webpack",
    "dev": "NODE_ENV=development npx webpack",
    "watch": "NODE_ENV=development npx webpack --watch"
  }
  // ....
}
Next, you can build your production ready assets:
npm run prod
If you preview your docs (using jekyll serve), you should see:
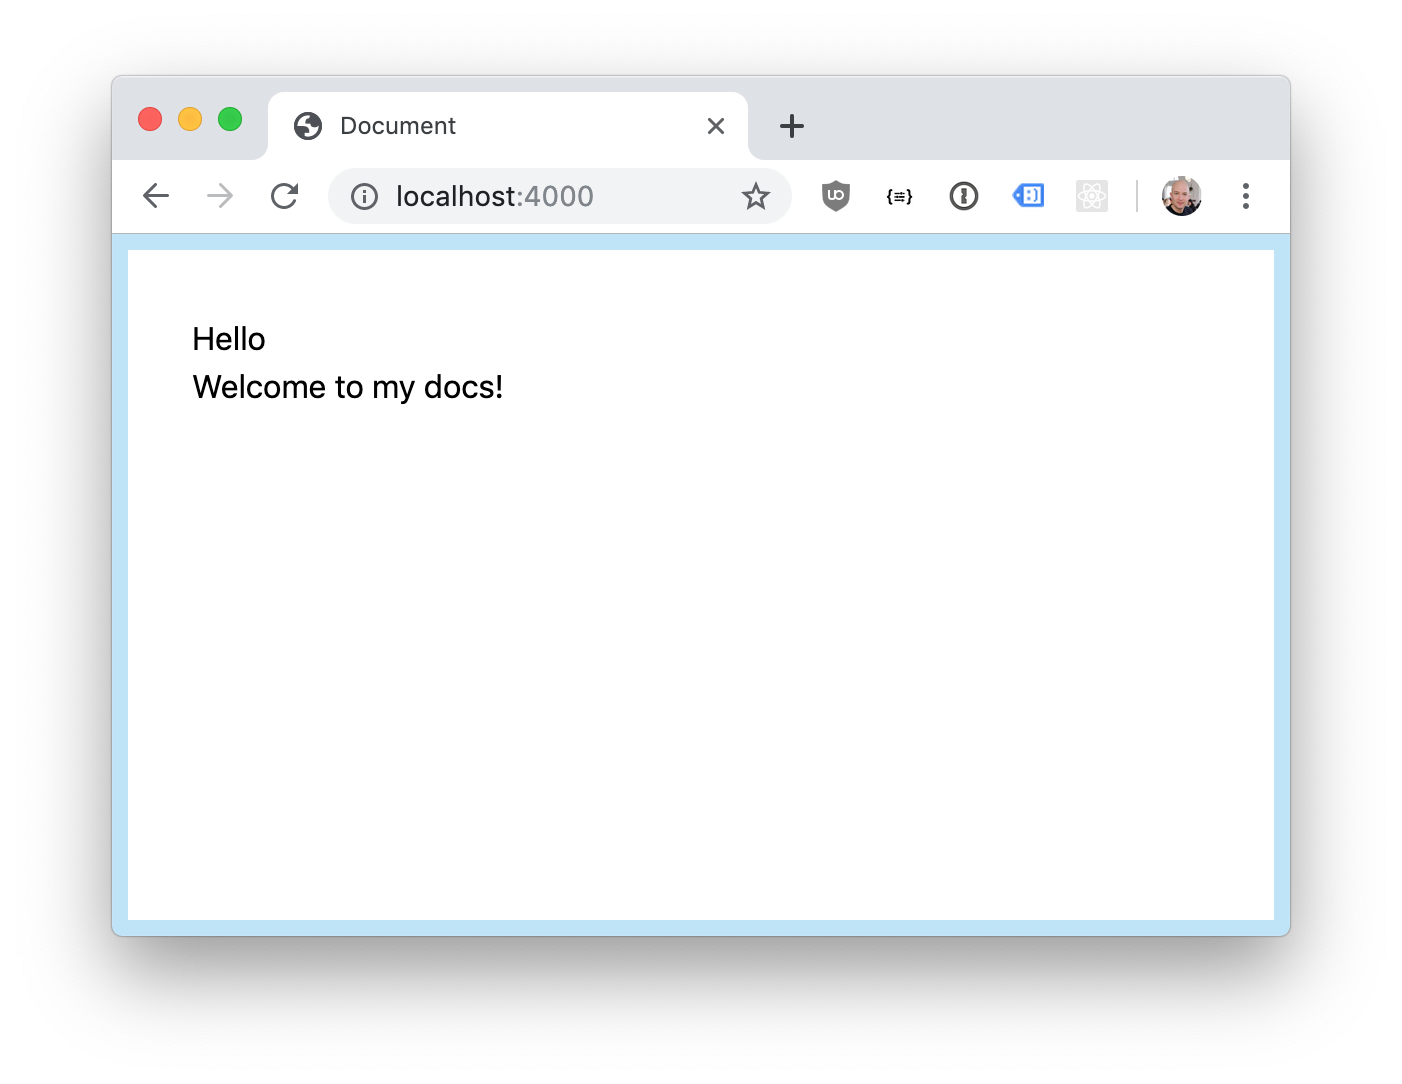
It it's all correct, this means our setup works! Yay!
The final touch
Before you commit all changes and publish your website on GitHub, you should clean up a few things.
In the docs directory, add the following items to the .gitignore file:
node_modules
_site
Now you can commit all generated assets and publish your website!
git add --all # lazy, I know
git commit -m "Added our website."
git push origin master
You should now be able to see your website on your project URL. Sometimes it takes a minute or so to process, but in general, it's quite quick.
You can see the final version of this example at frankdejonge.github.io/tailwind-docs-example. The repository is located at github.com/frankdejonge/tailwind-docs-example.
I hope this helps you on your way!